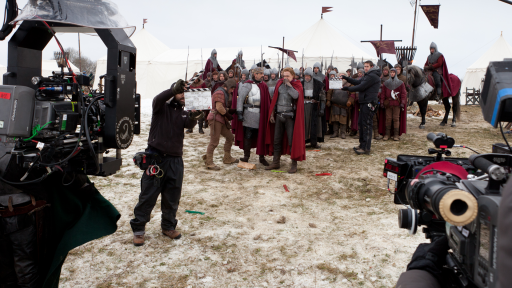
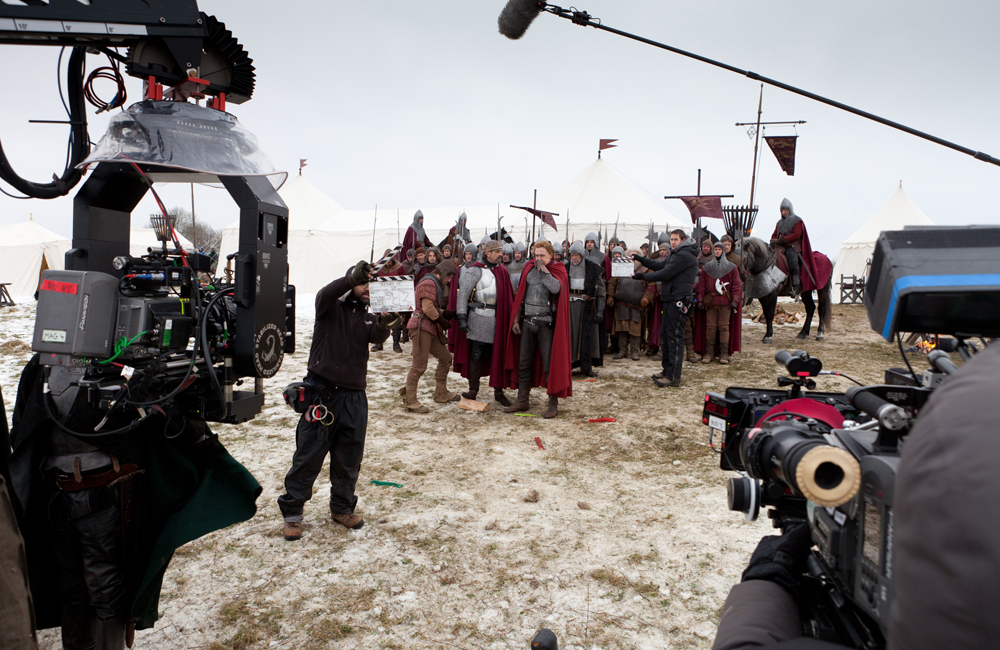
The Hollow Crown - Behind the Scenes
Photo: Joss Barratt
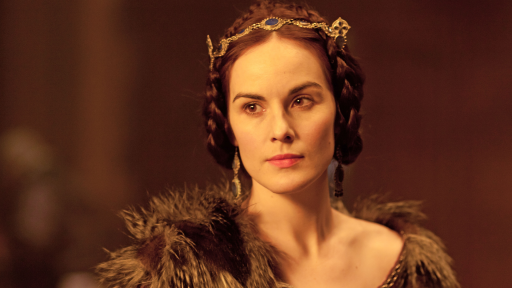
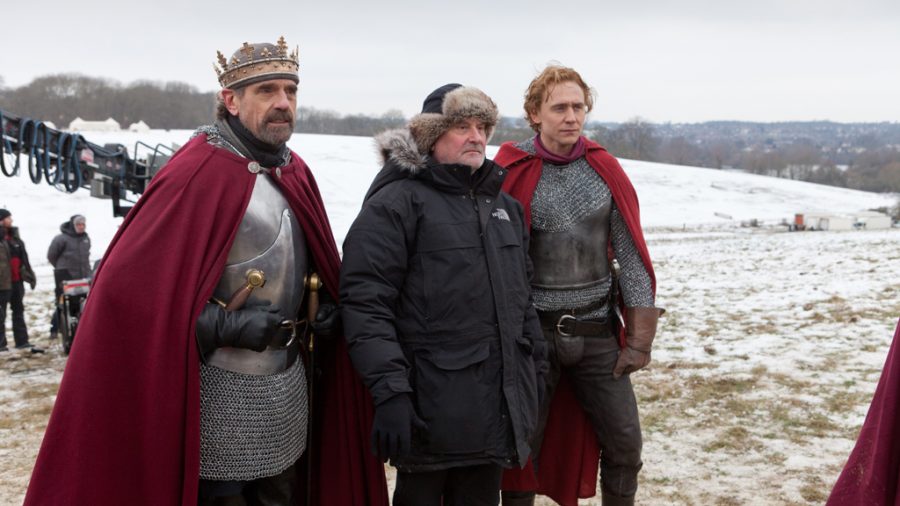
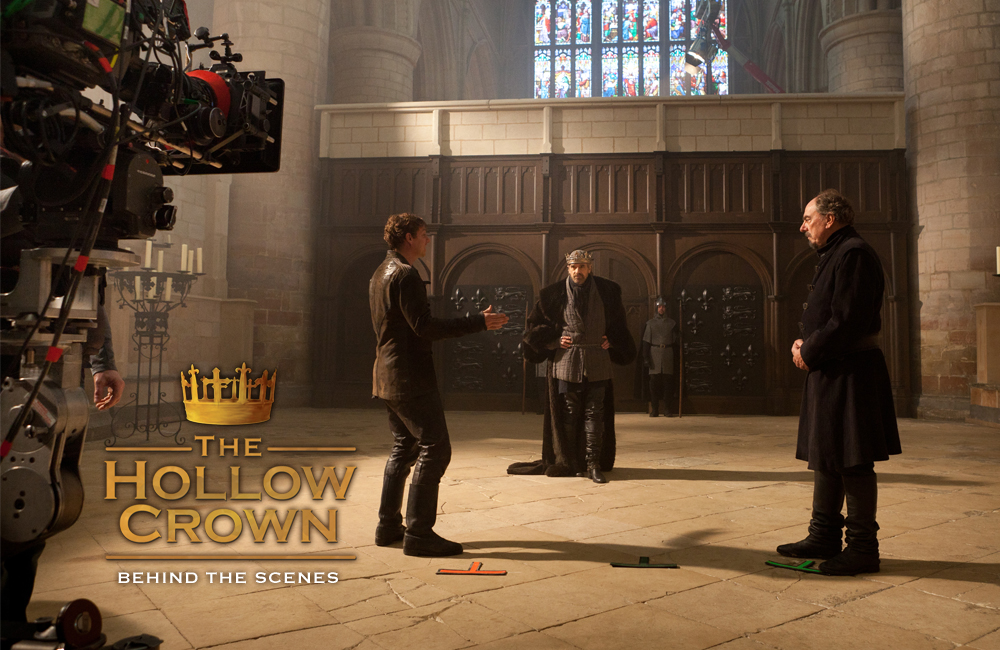
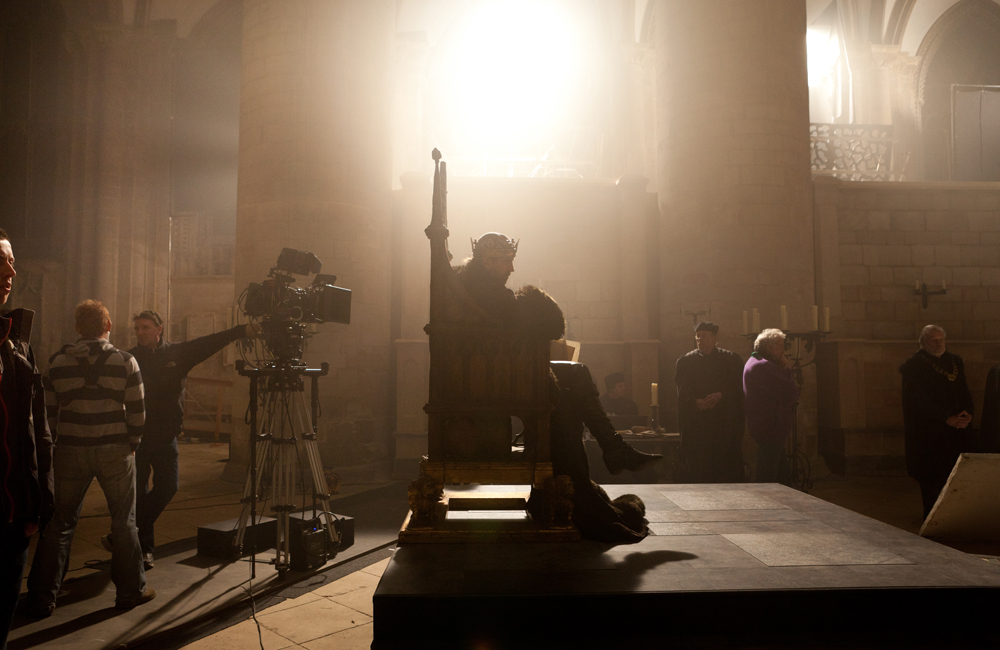
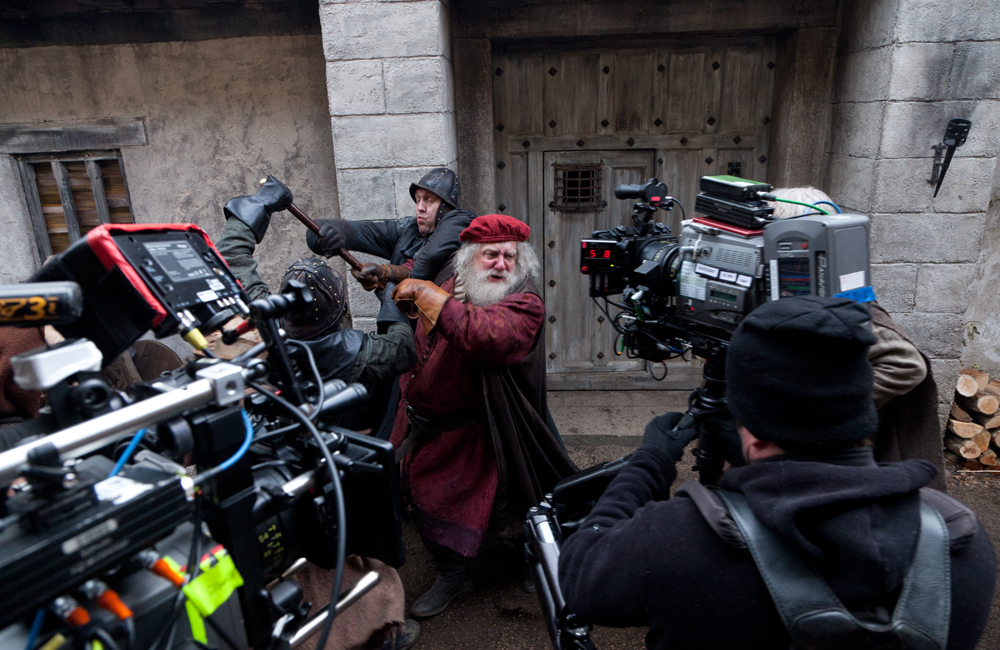
The Hollow Crown - Richard II - Behind the Scenes
Photo: Nick Briggs
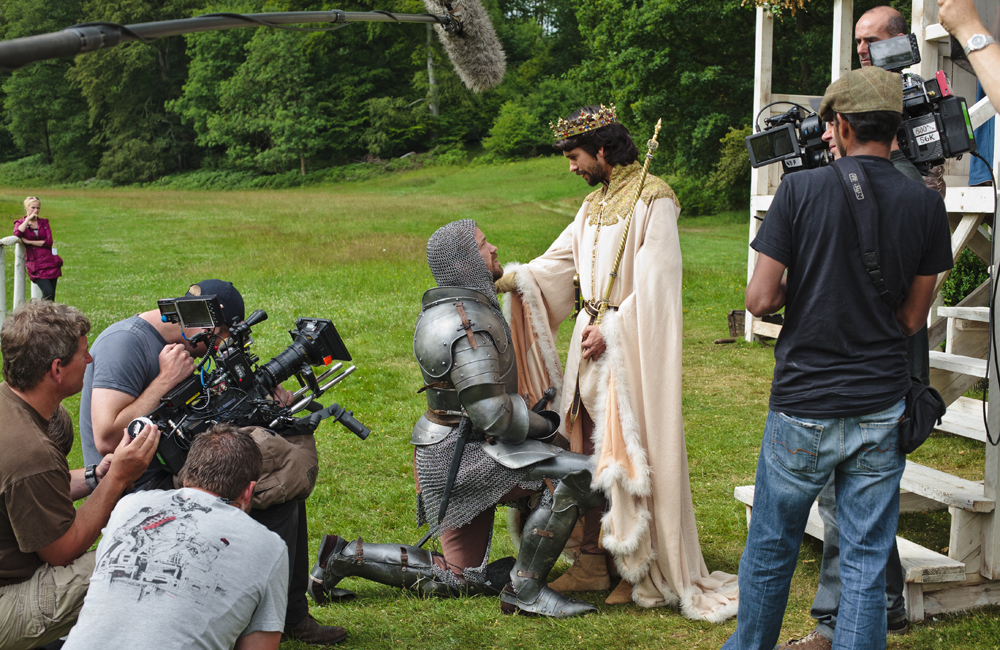
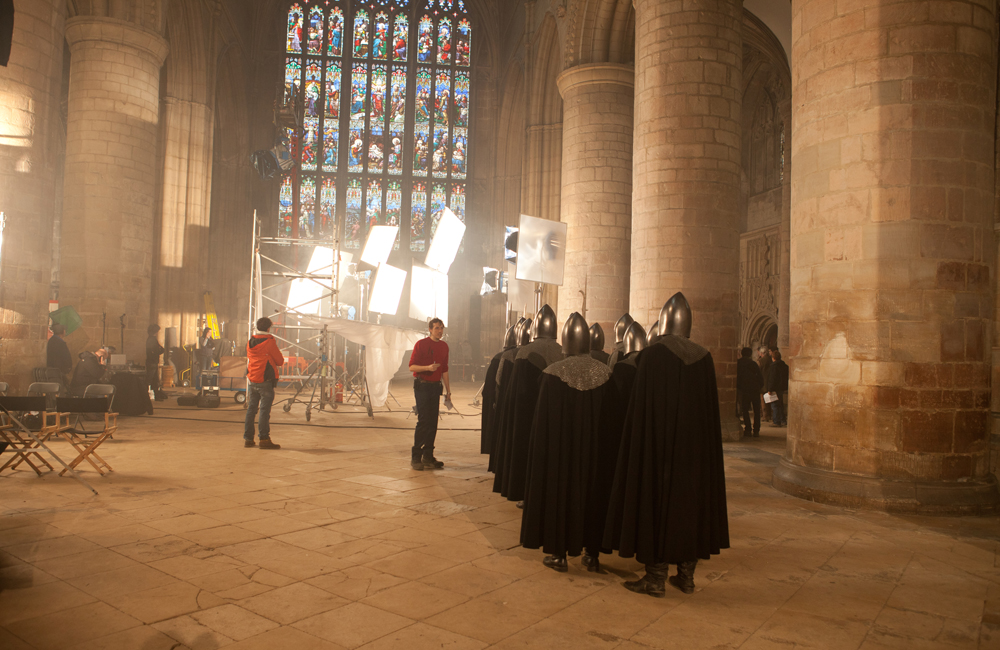
The Hollow Crown - Richard II - Behind the Scenes
Photo: Nick Briggs
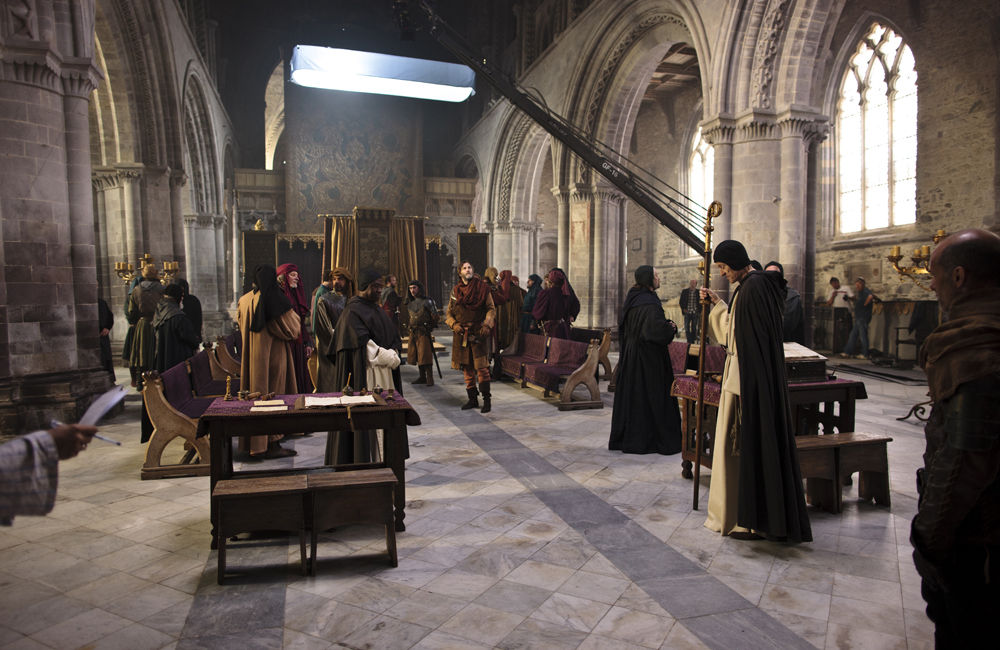
The Hollow Crown - Richard II - Behind the Scenes
Photo: Nick Briggs
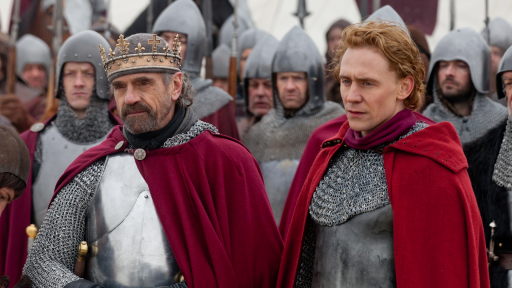
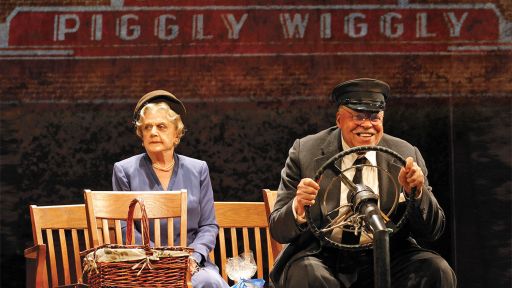
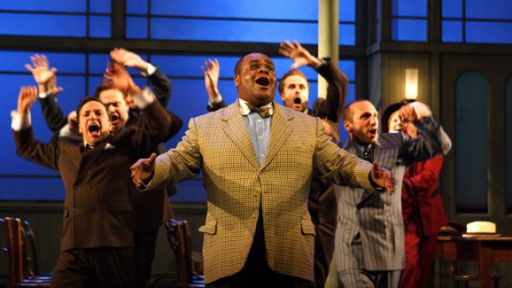
The Hollow Crown - Henry IV Part One - Behind the Scenes
Photo: Joss Barratt
The Hollow Crown - Henry IV Part One - Behind the Scenes
Photo: Joss Barratt
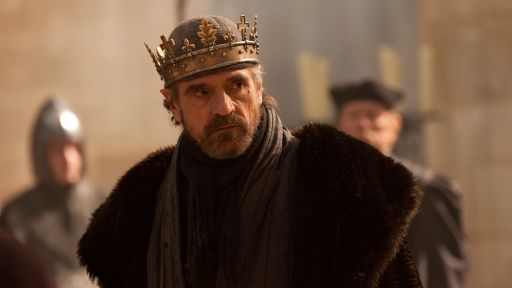
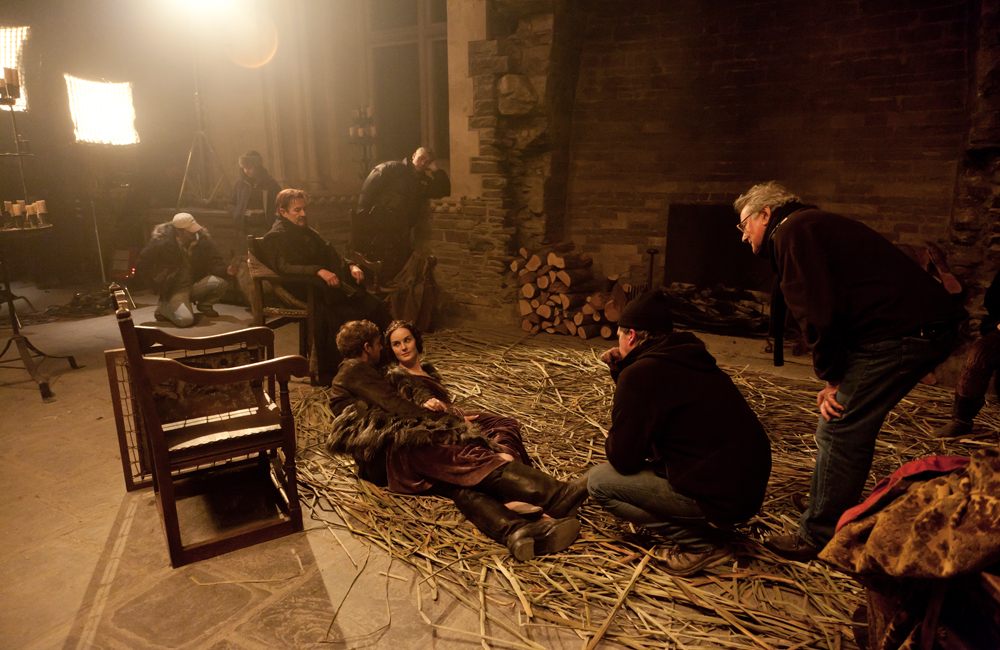
The Hollow Crown - Henry IV Part Two - Behind the Scenes
Photo: Joss Barratt
The Hollow Crown - Henry IV Part One - Behind the Scenes
Photo: Joss Barratt
The Hollow Crown - Henry IV Part One - Behind the Scenes
Photo: Joss Barratt
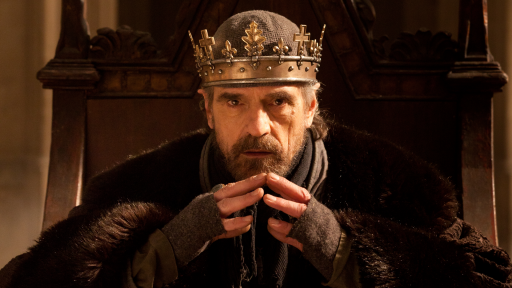
The Hollow Crown - Henry IV Part Two - Behind the Scenes
Photo: Joss Barratt
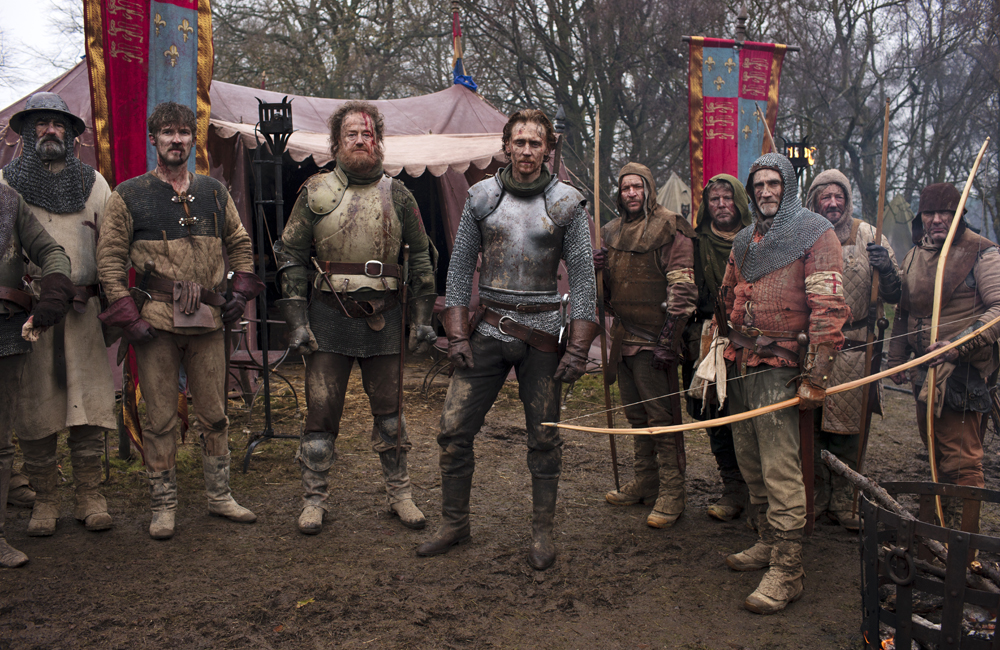
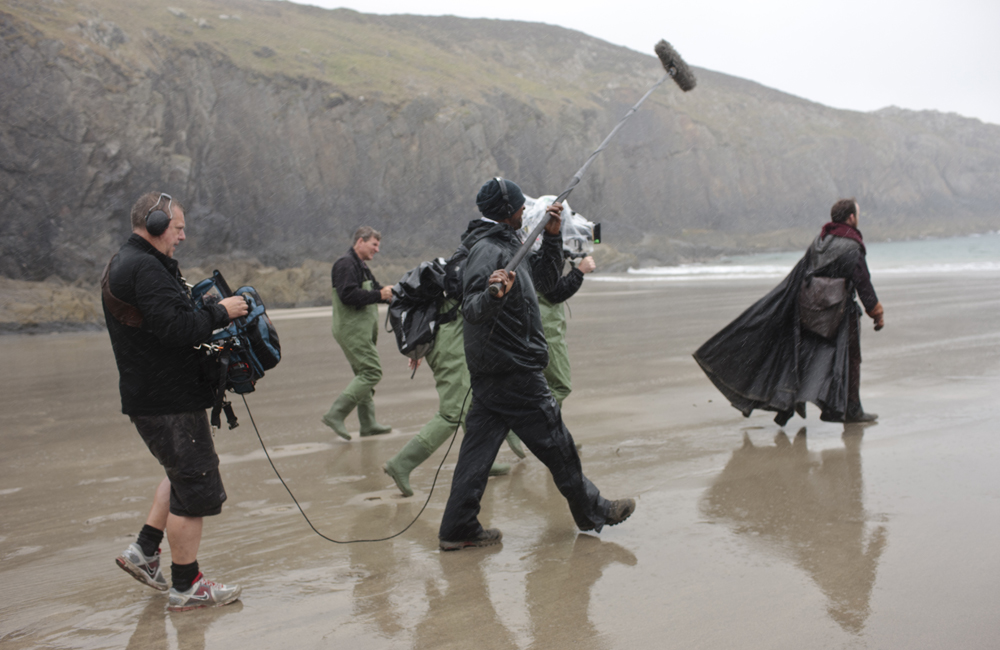
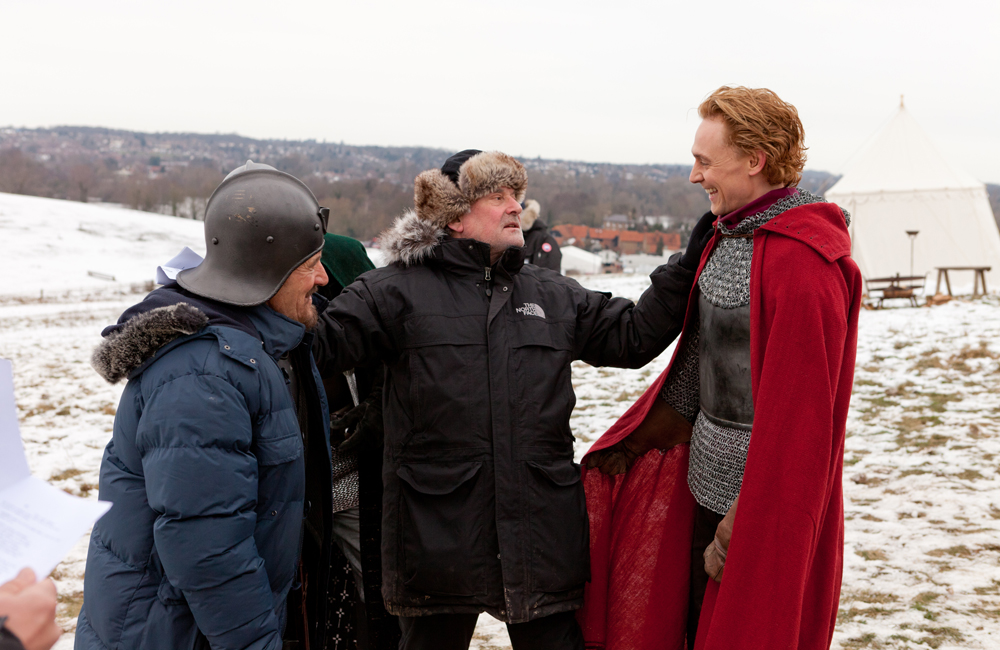
The Hollow Crown - Henry V - Behind the Scenes
Photo: Nick Briggs